Cork Flooring In The Bathroom 101
Choosing a suitable flooring medium for your bathroom is far from easy. You have to consider the dampness and heat factors and the sheer volume of traffic that the small room has to deal with on a daily basis. This is why cork is such a good choice for the bathroom. As well as being a sustainable material, it can deal with lots of bare feet without so much as a whine or a moan. You will need to follow a couple of guidelines when laying this down, but we’ll cover these here and hopefully you’ll soon be ready for action.
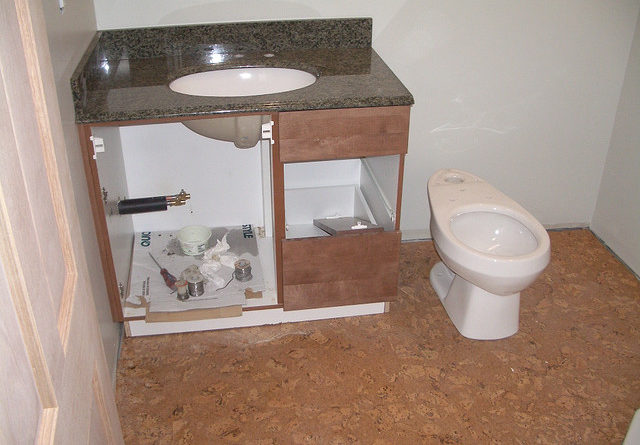
Remove The White Telephone
Although some DIY fans will leave the toilet where it is and work around the throne, we prefer to remove the big boy and cork underneath the joints. This will look far better and although slightly more labour intensive, you’ll love the results. The cork itself will achieve a better seal with the added weight of the toilet and that’s good enough for us!
Acclimatise The Cork
Cork is a natural material and is subject to expansion and contractions, so think before you lay that stuff down on your bathroom floor. The floor itself is going to feel these temperature spikes and troughs more than anywhere in the house. If you add the fact that the bathroom gets really hot and damp at least a couple of times a day, well that cork will need some help. Lay the stuff down for at least 48 hours to achieve this results and speak to the suppliers if you need a more accurate timeline. Most cork is sold with a warranty but this is only valid if you acclimatise it in the first place.
Expansion Gaps Matter
Okay, we are back on the expansion issues and cork really does change size according to the room temperature. If you fit the floor tight to the walls, you will see some joint buckles and they are not a good look. Leave about half an inch and this should be enough to deal with the cork’s active lifestyle. Also use some caulking compound around the bathtub to ensure that it is flexible enough to do its thing.
Glue Away
Your cork will be privy to a heap of damp and moist conditions in the bathroom, so you’ll need some protection where it really counts. If you pack in plenty of glue in between the joints, this should do the trick nicely. This will block any water from getting in between and under those tiles. Pick a decent wood glue with waterproof properties for the job in hand and you will be golden. If in doubt, speak to your local DIY store and get the right glue first time.
Tile Centring
Get a tape measure and calculate where the centre of the room is before your start laying those tiles in anger. If you take the time and effort to centre the tiles, the room will look far smarter. Work from the middle out and you will not go far wrong.
Ready, Steady Go!
So there you have it, follow these simple instructions and your bathroom floor will soon be very corky indeed!